My
weeks end up being pretty busy with work and teaching dance in the
evenings and as result I end up having very little to no time to prepare
dinner on weeknights. I decided that instead of scrambling for
something to quickly put together on the weeknights I would try to do a
little preparation beforehand and see how that worked. I took five and a
half hours last Friday to prepare a couple of weeks of meals to keep in
the freezer. Although the cooking was exhausting
on Friday (I don’t have the normal stamina I’m used to right now with
being pregnant!) I found it to be extremely helpful this last week! I
just thought I’d share what I did in case anyone’s interested.
1.
I started out by writing down a bunch of meals that sounded good to me. My list looked something like this:
Hamburgers
Saucy meatballs and potatoes
Veggie casserole
Teriyaki chicken
Stuffed peppers
Spaghetti
Lion house potato casserole
Chicken croissant sandwiches
Pineapple chicken and rice
Verde chicken Mexican lasagna
Etc.
2.
I
then thought about what meat I had in our freezer (the meat at Smiths
goes on clearance a couple of days before it expires so I only buy meat
that’s on clearance and then freeze
it. That saves us quite a bit of money) and I put together a more
specific list of what I wanted to make for the week.
My list looked like
this:
Friday- Stuffed Peppers
Saturday- Crouton Casserole
Sunday- Hotdogs and Potato Salad
Monday- Chicken Enchilada’s
Tuesday- Veggie Casserole w/Rice
Wednesday- Saucy meatballs and baked potatoes
Thursday- Chicken Salad Sandwiches
Friday- Spaghetti
Saturday- Pork Loin with Rice
Sunday- Verde Chicken Mexican Lasagna
3.
Notice
that I did not plan any nights for leftovers, date nights, or family
dinners. I did this because the first week that I cooked I cut all the
recipes in half or fourths and
planned on multiple nights of leftover. We had no leftovers and ended
up trying to throw food for dinner together last minute. Throwing
together food at the last minute did not work well because since Josh
and I just moved into our house there were only a
few recipes I could find that we actually had all the ingredients for
and we are very short on time in the evenings! We were missing lots of
basics. I figured it was better to over plan and have extra meals in the
freezer at the end of the week than it would
be to under plan again. I didn’t cut many recipes in half when I made
them either, I followed the recipe for the most part. I figured if we
have a ton of food leftover we would eat it for leftovers or freeze it
and do it for a meal another week.
4.
Because
I knew I couldn’t make most of the meals on my list because we didn’t
have the ingredients to make them I then took a Word Document and
assigned one page per day with details
on the meal for the day. This was helpful because I don’t have any
recipes memorized, with my pregnant brain right now it helped me to
remember what I was planning on for dinner each day (I looked at our
meal schedule to know what we were going to have for
dinner), and it really helped reduce stress for me. Each page of my
Word Document looked something like this:
Page 5
Veggie Casserole w/Rice
Meal will consist of:
Veggie Casserole (pull out of freezer)
Rice (pull out of freezer and heat up)
Milk or Water to drink
Recipe
Ingredients:
1 cup mayo, 1 cup
miracle whip, 1 tsp salt, 4 tbsp lemon juice, veggies (carrots, celery,
onion, peppers), chicken, cheese (whatever looks good), sliced almonds
(optional for top), sleeve crushed Ritz crackers
with butter (optional for top)
Cooking:
Cover and cook @ 350 for 60 min
5.
I
then took my typed up list of meals for the week and went through the
kitchen to figure out what I did have and what I was going to need to
buy. I wrote down everything we needed
to purchase as I went through each recipe. I also wrote down how much
of a certain item I needed to buy (for example I’d write down 1 cup
miracle whip for this recipe, potato salad also calls for miracle whip
so I wrote down the amount for that recipe too,
that way I ensured I had enough for each recipe). After figuring out
exactly what groceries we would need for each meal I added on the couple
of other items we would need for breakfasts and lunches (such as
yogurt, milk, fresh fruits and veggies to snack on)
6.
Next came a quick grocery trip
7.
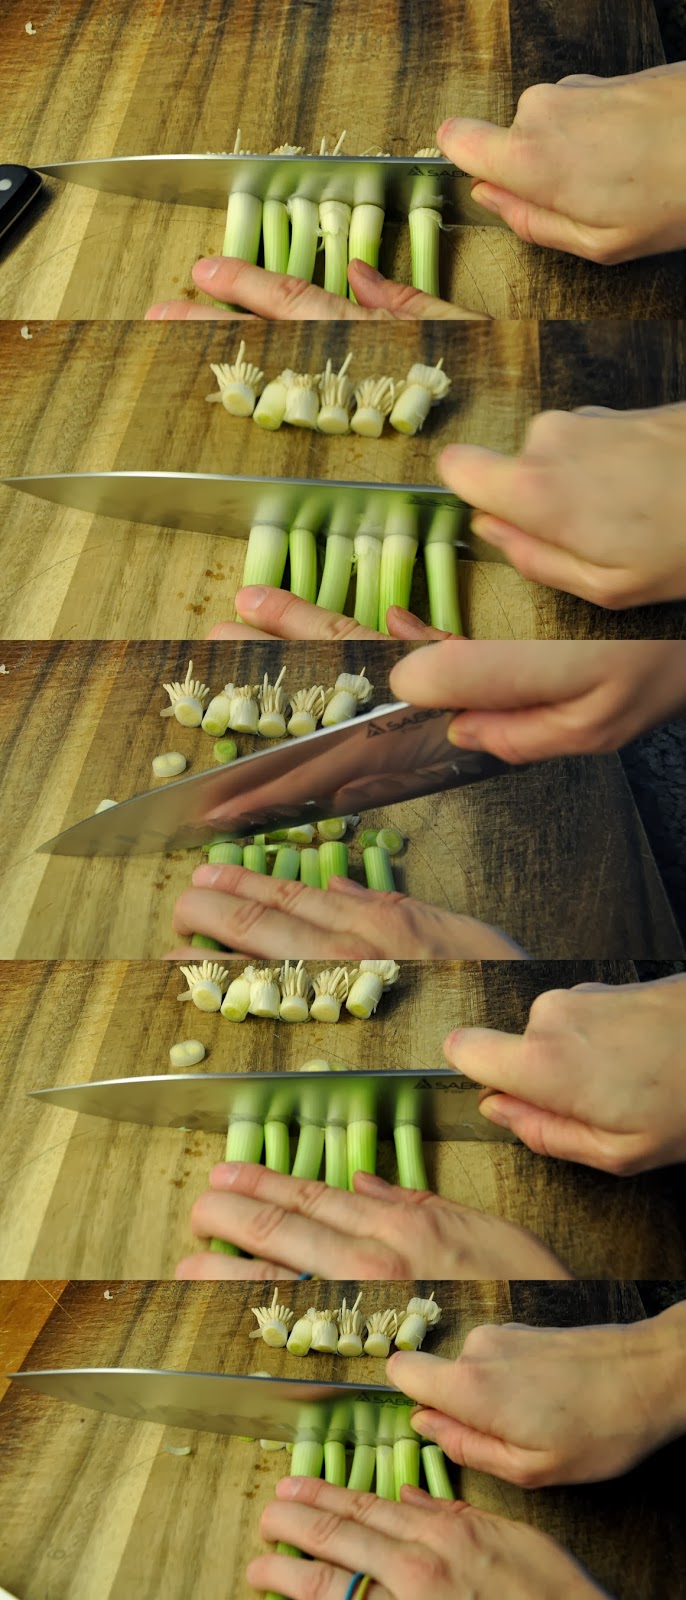
I
got home and cooked and cooked and cooked. It was convenient to be able
to cook all the chicken for the week at once, all the ground beef and
ground turkey at once and then slice
up all the veggies. I took any leftover veggies from the meals and cut
them into veggie sticks (like the celery, carrots, and peppers) so that
we would be likely to snack on those or eat those for lunch throughout
the week. I froze any leftover meat so that
I could use it for meals the following week. I simply made each meal
and put each into a different glass dish that I would be able to pull
out of the freezer and pop into the oven.
8.
I
taped a sticky note to each dish that I put in the freezer with the
name of what was in the container (such as: “Chicken Enchiladas”) and
cooking instructions (such as: Cook at
350 for 60min or until heated through). This way I didn’t have to look
up baking instructions when I pulled out the meal for the day. Josh and I
use google calendar to schedule each hour of each day and I created
another calendar for our meals so that about
15 minutes before I started teaching for the day a reminder would pop
up on my phone reminding me what we were eating for the day and I would
put it in the oven on a delay start for the amount of time needed. This
way the meal was ready to take out of the
oven within minutes of my students leaving and I could pop it back in
the oven on warm for Josh to pull out when he got home from work while I
was teaching another class.
All in all planning out our meals proved to be super helpful for us! I posted this thinking that maybe these ideas would be helpful for some of you to (even if it just means you get an extra 30-60 minutes to read with your kids or relax during the week instead of trying to quickly pull together dinner). Honestly, this past week we ended up only using a couple of the meals, we had our date night one evening, family dinner another, pizza another, and a couple nights of leftovers so I only cooked the stuffed peppers, chicken enchiladas, and chicken salad sandwiches. Oh and we ate some of the potato salad with our leftovers last night. I’m hoping to cook up replacement meals for the ones we used this week (different meals but something to replace them in the freezer) and stay on top of having meals prepared in the freezer so that I don’t get stressed out about trying to put on dinner while working in the evenings and being so tired with pregnancy (and to save another Friday of only cooking!). There are freezer bag meal recipes that I’ve seen online for the crockpot that look pretty handy to me (people have also said they lay really flat in the freezer) I didn’t make any of those though because I stick to the clearance meats and didn’t want to have to go to the store for the meats that they all call for. I am curious though, have any of you tried them? Did you like them or find them helpful? Would you do them again? Any other great fast go to meals that you use during the week (with little to no prep other than quickly putting it in the oven or crockpot)?
Love of love!
Sheri